Multi Code 1-Button Remote Control Transmitter 3089
Single button transmitter (remote control) for garage door opener models using Multi Code 300 Mhz receivers. Old part numbers - 1089 3089 3070 3060
To determine compatibility with your garage door opener, please look for a combination of the following features:
- Gray external radio receiver box present on back of garage door opener powerhead (motor mounted to ceiling of garage) - to see what the receiver looks like visit the page for the Multi Code receiver
- Antennae wire coming out of the receiver
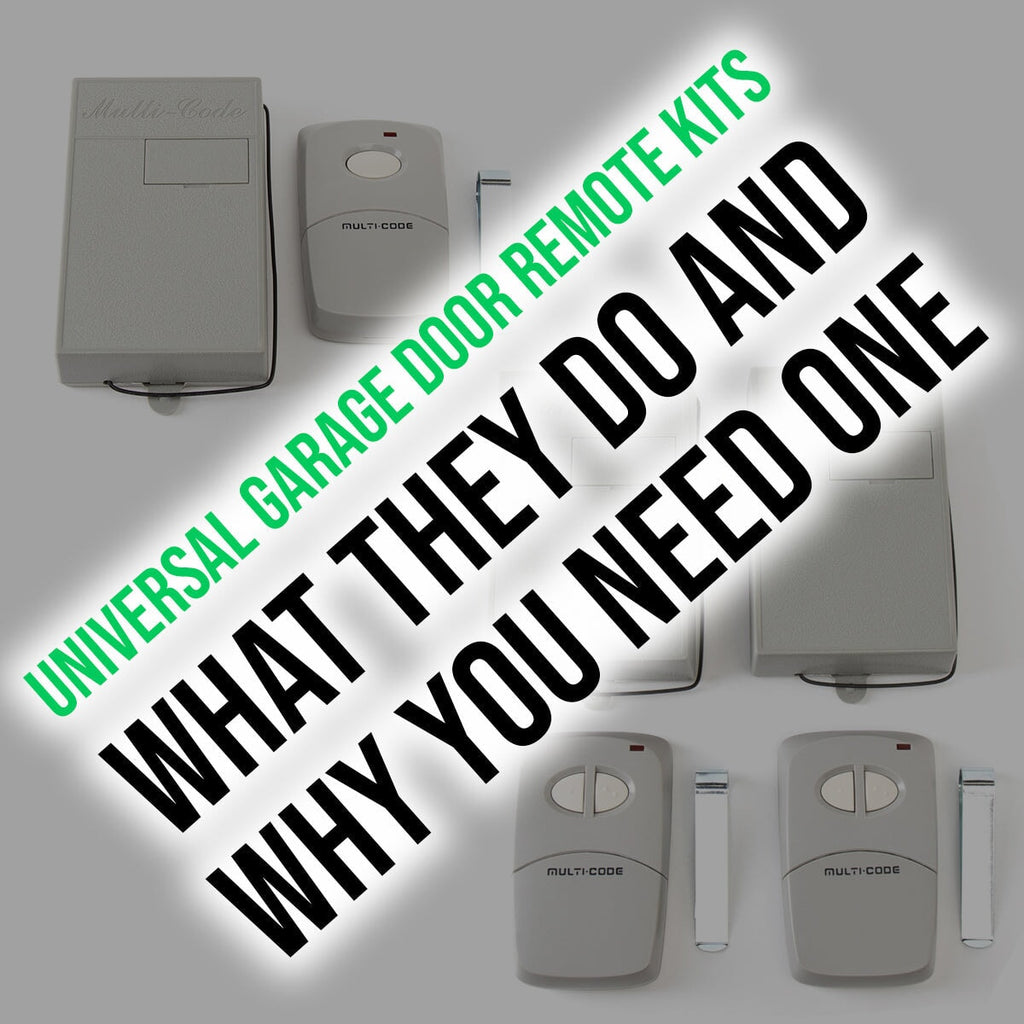
- Remote controls you currently use say Multi Code on them and look like the model pictured.
If you do not have any remote controls, usually the fact that you can see the radio receiver box on the back of your garage door opener powerhead is enough to be sure this remote control will work for you.
If you cannot see the radio receiver or are not sure it is the same one we have pictured, we recommend that you install a new Multi Code 1090 radio receiver/transmitter to make your unit compatible with this remote.
Includes:- Remote control
- Visor clip
- Battery
- Instructions
- 10 dip switch setting
- Frequency 300 Mhz
- Frequency: 300 Mhz
- Dimensions: 2.25" x 3.75"
- Battery: 9 volt
- Model No: 308911
- Part No: 3089
- Indicator Light Color: Red
- Code Set: Dip Switches
- Buttons: 1
- Color: Gray
- Manufacturer: Linear
- Warranty: Mfg 1 year
- 300 Mhz Multi Code receivers
If your old remote was a black 3089, it is the old 310 Mhz frequency and you will have to replace the receiver on your motor if you want to get a new remote - Multi Code receiver
Programming Instructions
You may set your transmitter to any code you desire but be sure that the code you set matches the code that has been set on your radio receiver. The digital code is determined by the positions of the 10 small switches numbered 1 through 10 located in the receiver and transmitter. Any combination of ON (CLOSED) or OFF(OPEN) positions can be selected by using a small screwdriver or ball point pen.(NOTE: The switches are in the ON position when the side next to the number is pressed in.) In setting your own personal code we strongly urge that several coding schemes be avoided: ALL ON; ALL OFF; 2, 4, 6, 8, 10 ON; 1, 3, 5, 7, 9 ON. These positions are similar to our or other manufacturer test positions, or are frequently used. Once the code has been set, check the operation and replace the hatches.For the full instructions, and programming illustrations click here.