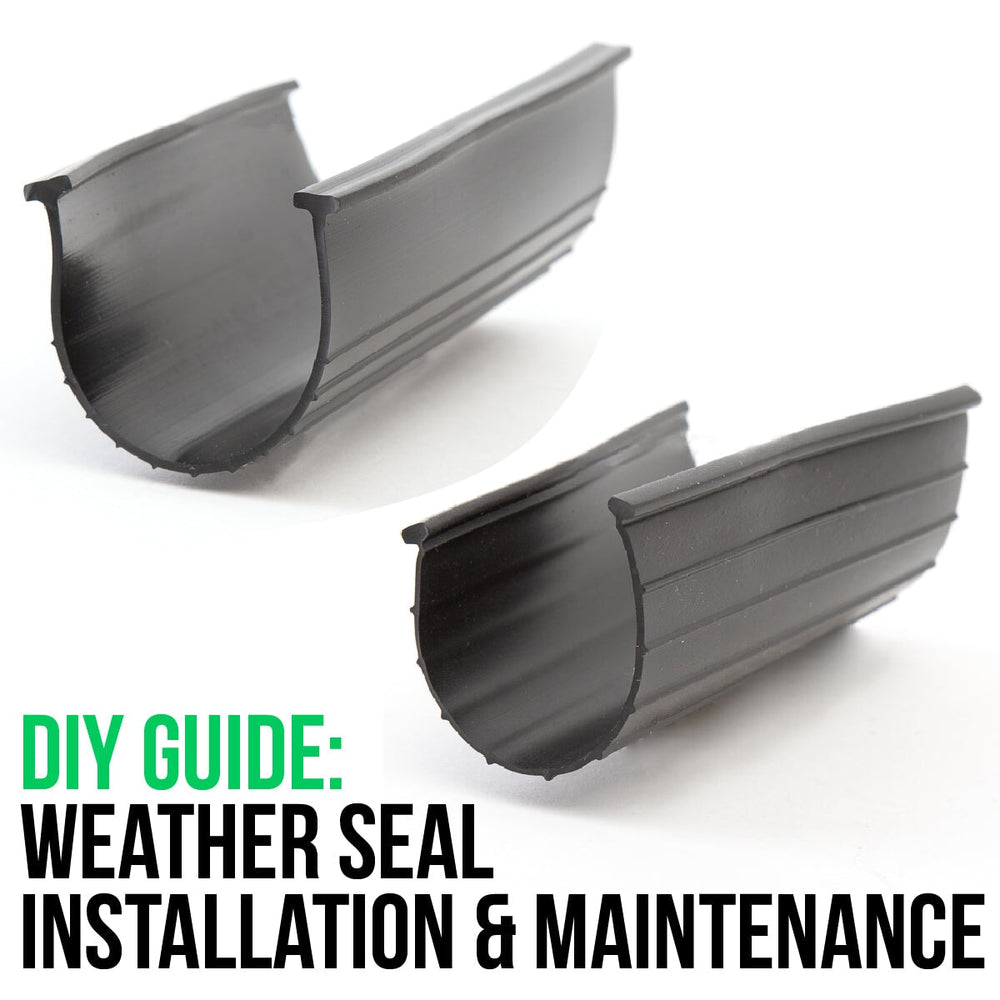
Garage Door Weather Seal Installation DIY & How-to Guide
In this comprehensive guide, we'll walk you through the steps to install, replace, and maintain your garage door weather seal. Properly sealing your garage door can help keep out pests, protect your garage from the elements, and even save on energy costs. Let's get started!
Article Outline
- How to Replace Garage Door Seal
- How to Seal Garage Door Gaps
- How to Seal Garage Door Sides and Top
- How to Install Garage Door Seal
- How to Seal a Garage Door for Winter
- How to Install Garage Door Weather Seal
- Garage Door Weather Seal Models and Compatibility
How to Replace Garage Door Seal
If your garage door seal is worn or damaged, replacing it is essential for maintaining a tight seal. Follow these steps to replace your garage door seal:
- Open the garage door and remove any debris from the bottom of the door and the floor.
- Use a flathead screwdriver or a similar tool to pry the old seal off the door.
- Measure the length of the door and cut the new seal to the appropriate length.
- Slide the new seal into the retainer at the bottom of the door, starting at one end and working your way across.
- Close the door to test the seal, making sure it is properly aligned and providing a snug fit.
How to Seal Garage Door Gaps
Sealing gaps around your garage door is crucial for keeping out pests, water, and drafts. Here's how to seal those gaps:
- Inspect the sides and top of the door for gaps.
- Install weatherstripping or doorstop molding along the sides and top of the door to close any gaps.
- Replace or adjust the bottom seal if needed to ensure a tight fit along the floor.
- Test the door's operation to make sure the seal is effective and not causing any issues.
How to Seal Garage Door Sides and Top
To seal the sides and top of your garage door, follow these steps:
- Clean the door frame and remove any old weatherstripping or sealant.
- Measure the length of the door sides and top, then cut weatherstripping or doorstop molding to fit.
- Attach the weather stripping or doorstop molding to the sides and top of the door frame using nails or adhesive, ensuring a snug fit against the door when closed.
- Check for any remaining gaps and adjust the seal as needed.
How to Install Garage Door Seal
Installing a garage door seal is a simple process. Follow these steps:
- Measure the length of the bottom of the garage door and cut the seal to the appropriate length.
- Slide the seal into the retainer at the bottom of the door, starting at one end and working your way across.
- Make any necessary adjustments to ensure a snug fit along the floor.
- Test the door's operation to ensure the seal is functioning properly.
How to Seal a Garage Door for Winter
Sealing your garage door for winter can help keep your garage warm and reduce energy costs. Here's how:
- Inspect the bottom, sides, and top of your garage door for gaps and drafts.
- Replace or install weatherstripping and doorstop molding as needed to close any gaps.
- Adjust or replace the bottom seal to ensure a tight fit along the floor.
- Add insulation to the garage door panels if desired for added thermal protection.
How to Install Garage Door Weather Seal
Follow these steps to install a garage door weather seal:
- Measure the length of your garage door and cut the weather seal to fit.
- Remove any old weather seal and clean the door's bottom retainer.
- Slide the new weather seal into the retainer, starting at one end and working your way across.
- Ensure a snug fit along the floor and test the door's operation to verify the seal is effective.
Garage Door Weather Seal Models and Compatibility
When selecting a garage door weather seal, it's essential to choose a compatible model for your door. Here are some popular options with links to their product pages:
- Wayne Dalton Garage Door Weatherstrip
- 1/4" T-Bottom Weather Seal
- 1/4" T-Shaped End Garage Door Bottom Weather Seal (Varied Width)
- 3/16" Bead Shaped End Garage Door Bottom Weather Seal (Varied Width)
With these guidelines, you can successfully handle garage door weather seal installation and maintenance. Always prioritize safety, use the proper tools, and don't hesitate to consult a professional if you encounter any issues. Keeping your garage door sealed will help protect your garage from the elements, prevent pests from entering, and even save on energy costs. Happy sealing!